Leaking Radiator: Causes and Repairs
A leaking radiator can often be fixed quickly and inexpensively. Learn about common causes, DIY repair steps, and when to call a plumber.
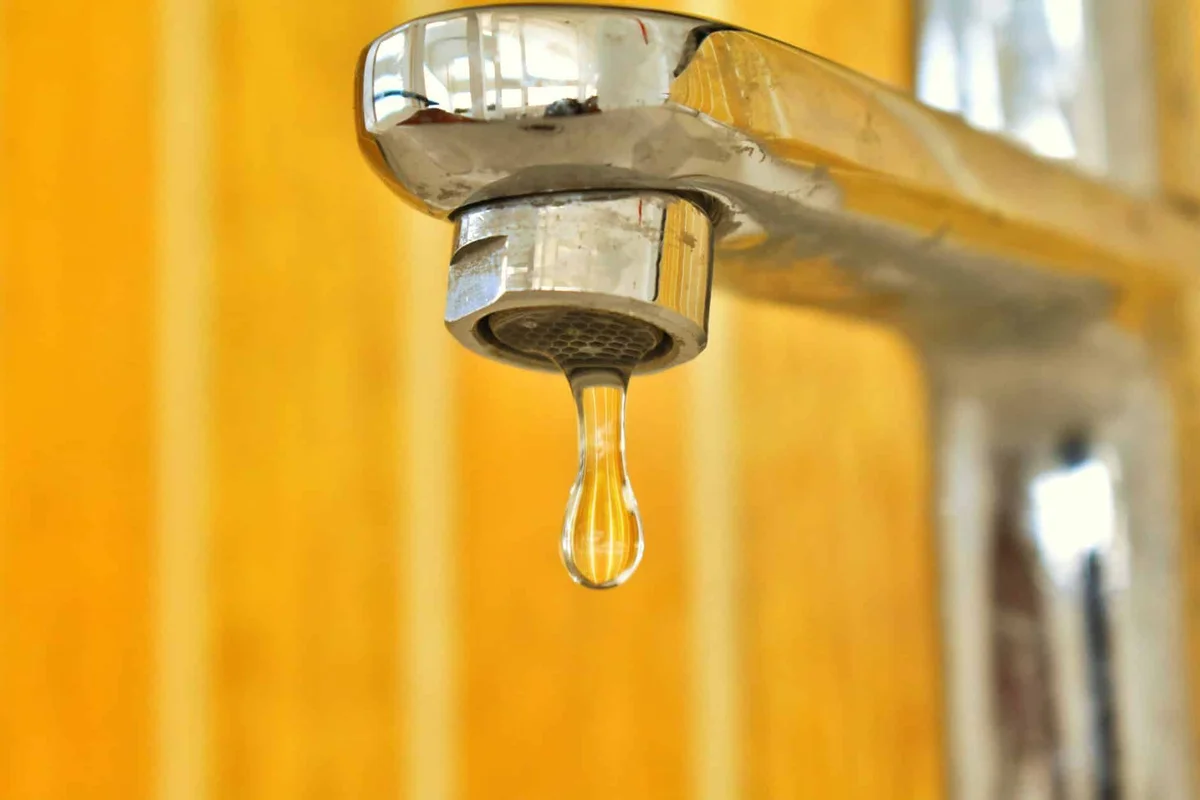
A leaking radiator can often be repaired in 80% of cases in under 30 minutes using a wrench and a new gasket costing around 3 euros, provided action is taken swiftly to prevent water damage from spreading. Most leaks are typically due to a loose connection, a poorly closed air vent, or a worn gasket—issues that can be addressed without removing the radiator.
Understanding the difference between a central heating water radiator and an electric fluid-filled radiator is crucial: the former can be repaired, while the latter requires replacement. This 2026 guide outlines five potential causes of leaks, step-by-step procedures for repairs, and specific thresholds at which calling a plumber becomes necessary.
🔑 Key Points
- ✓ Leaking at the connection or air vent accounts for 60% of cases and can be resolved with an 8 or 10 wrench in under 15 minutes.
- ✓ The average water damage costs 1,500 euros in 2026 according to home insurers, significantly higher than the 3 to 15 euros for a new gasket.
- ✓ A leaking electric fluid radiator cannot be repaired: the heat transfer fluid is factory-sealed, necessitating a complete replacement.
- ✓ The cost of hiring a plumber for a radiator leak ranges from 90 to 250 euros including tax, depending on the region and urgency.
Why Is My Radiator Leaking? The 5 Most Common Causes
A leaking radiator quickly reveals its issue. Five defects account for the majority of cases, with three being repairable without special expertise. Plumbers confirm that the gasket at the connection and the air vent are responsible for over 60% of service calls. To diagnose, observe where the water is dripping. A drop at the top? It's the air vent. At the side connection? A gasket or nut may be loose. At the bottom of the radiator? Corrosion is likely.
Before proceeding with any repairs, turn off the boiler and use your phone's flashlight to locate the wet area. A drop every 30 seconds indicates a minor leak, while a steady stream requires immediate intervention. Below is a diagnostic table to consult before reaching for the wrench.
| Leak Location | Likely Cause | Solution | |--------------------------|-------------------------------------------|-------------------------------------------------| | Top, air vent screw | Loose air vent or worn gasket | Tighten or replace (3 €) | | Side connection, nut | Worn fiber gasket, loose nut | Tighten + new gasket (5 €) | | Thermostatic valve | Faulty head or packing | Replace head (25 to 60 €) | | Radiator body, seepage | Corrosion, perforation | Replace radiator | | Bottom, drain valve | Valve not closed properly or worn gasket | Tighten or replace gasket (4 €) |
Defective Gasket or Connection
The fiber gasket that ensures the seal between the radiator body and the valve can degrade over 8 to 15 years depending on the water quality. A visual sign includes dry limescale around the connection nut, sometimes tinged with rust. A simple tightening with a 22 or 24 wrench stops the leak in 4 out of 10 cases. If the nut is already stuck and the dripping persists, replace the gasket, which costs between 2 and 5 euros at a hardware store.
Damaged or Improperly Closed Air Vent
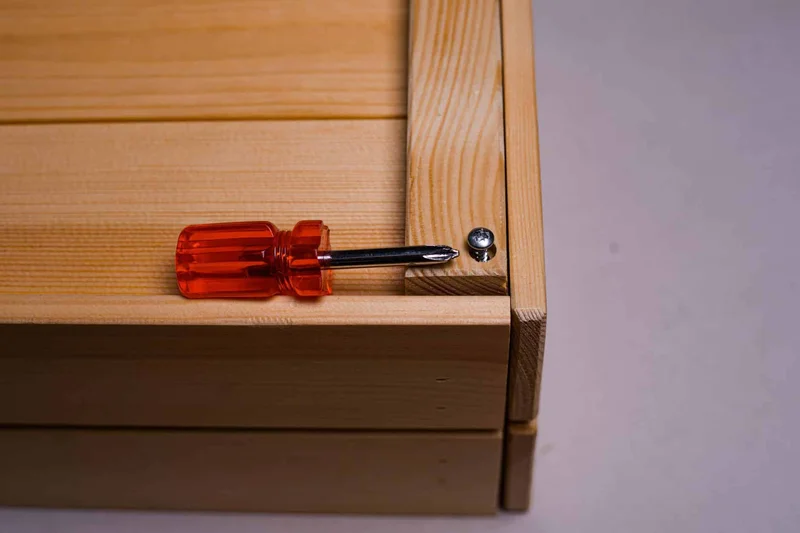
The air vent located at the top of the radiator may leak after a poorly closed purge or if its internal gasket has dried out. First, try gently tightening the screw with a 5 mm square wrench or a flat screwdriver. If water continues to drip, fully unscrew it, replace it with a new air vent (costing 4 to 8 €), and restore pressure. This issue accounts for approximately 20% of radiator leaks in homes.
Corrosion and Perforation of the Radiator Body
Internal corrosion affects steel radiators after 20 to 30 years, particularly if the circuit water has never been treated. The typical signal is a diffuse seepage at one spot on the body, without any nearby connections or screws, often accompanied by a rust halo. Sustainable repair is not possible in this case. Epoxy putty may hold for a few weeks at most, allowing time to arrange for a radiator replacement, which can cost between 150 and 600 euros, plus installation. Homeowners often confuse this type of leak with a standard hydraulic leak, when in fact corrosion literally pierces the metal.
Faulty Thermostatic Valve or Stopcock
The thermostatic head, marked with a scale from 1 to 5, can jam and allow water to leak at the packing. Unscrew the head by hand to check for dripping water from the fixed part. Replacing the entire head costs between 25 and 60 euros and can be done without draining the entire system, taking just 10 minutes.
Electric Fluid-Filled Radiator: A Special Case
A fluid-filled electric radiator that leaks is never repairable. The heat transfer fluid (mineral oil or glycol) is factory-sealed within the heating body, with no access for the owner. A leak indicates a crack in the body, posing a major electrical risk: immediately turn off the circuit breaker for the affected circuit and unplug the device. Replacement is necessary, costing between 200 and 900 euros depending on the power and brand.
5 Steps to Repair a Leaking Radiator Yourself
Repairing a central heating radiator that leaks requires a systematic approach. Expect to spend about 25 minutes and follow five steps to manage the situation without further damage. First, gather your tools: a 22 wrench, an air vent wrench, two old towels, a shallow container (like a paint tray), and a new fiber gasket.
Case Study: Marc, a 45-year-old apartment owner in Lyon, discovers a 2 cm puddle under his radiator one January morning. By tightening the air vent connection with a square wrench in 10 minutes, without needing a plumber, he stops the leak and avoids an estimated 1,500 € water damage claim according to home insurers.
Step 1: Turn Off Heating and Protect the Floor
Turn off the boiler or circulation pump from the control panel and allow the water in the system to cool for 30 to 60 minutes. A radiator can contain water above 60 °C, posing immediate burn risks. Place two thick towels under the radiator and a shallow container directly beneath the leaking area.
Step 2: Close Valves and Identify the Leak
Close the thermostatic valve (to position 0 or star) and then the adjustment tee located on the opposite side of the radiator, using an Allen wrench or screwdriver depending on the model. These two valves hydraulically isolate the radiator from the rest of the system. Dry the wet area with a cloth and observe where the dripping resumes using your flashlight.
Step 3: Bleed the Radiator to Release Pressure
Open the air vent at the top of the radiator using the square wrench to release trapped air and residual water until the flow stops. This step is essential: it prevents pressurized water from spraying when you disconnect the connection. Expect to recover 0.2 to 0.5 liters of water from a standard radiator, as noted in TotalEnergies' guide on radiator leaks.
Step 4: Tighten Connections or Replace Gasket
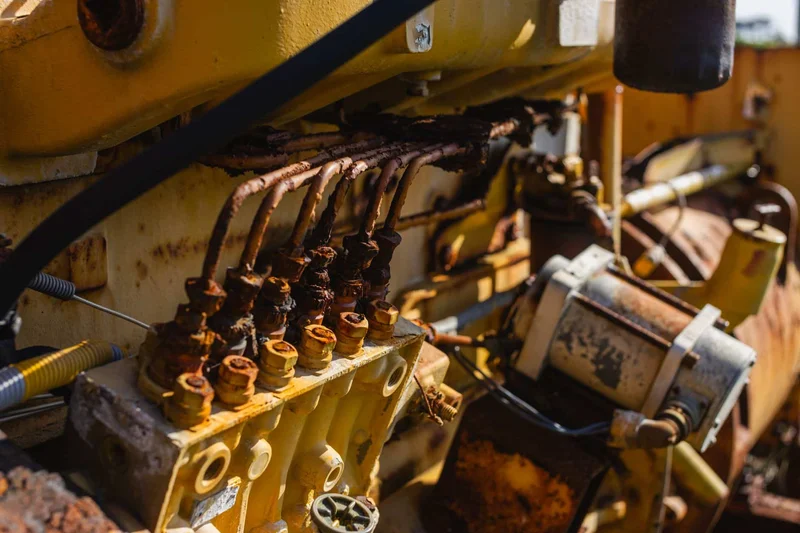
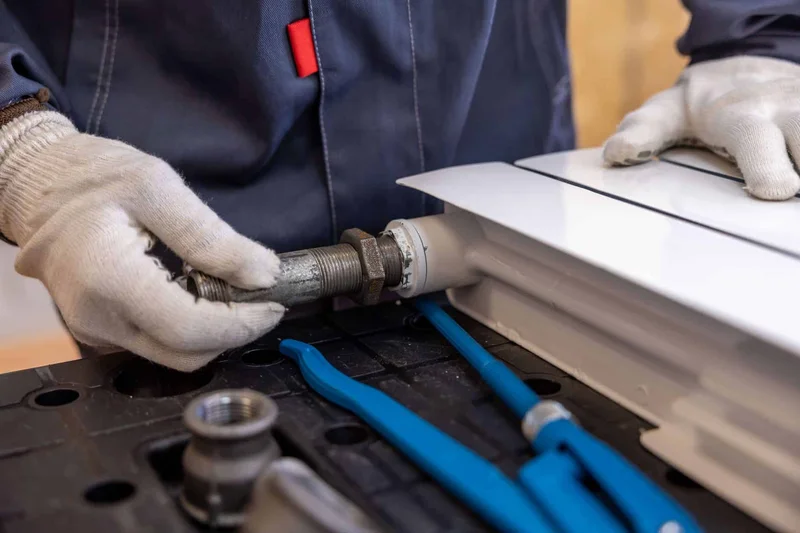
First, tighten the connection nut an additional quarter turn, no more, using the wrench while holding the radiator body with a second wrench to avoid twisting the tubes. If the leak continues after restoring pressure, fully unscrew, replace the fiber gasket with a new one (with or without thread sealant depending on the model), and tighten securely without overdoing it.
Step 5: Restore Pressure and Check for Leaks
Slowly reopen both valves, close the air vent as soon as a steady stream of water appears, and then restart the boiler. Check the circuit pressure on the boiler gauge: it should be between 1.2 and 1.8 bar when cold. Run your hand over the treated connections every 30 minutes for 2 hours to confirm there are no further leaks.
Leaking Radiator at the Bottom: Specific Diagnosis
When water drips from the bottom of the radiator, two primary causes dominate. In 70% of cases, it is due to the drain valve being left slightly open or a worn gasket. Other situations may indicate more serious corrosion that has penetrated the metal. The diagnosis is clear: if the drip comes from a protruding part (cap, valve), it is repairable; if it seeps from the painted body, the radiator is no longer viable.
Leak at the Drain Valve
The drain valve, often a small hexagonal cap or quarter-turn valve, is located at the bottom opposite the water inlet. A simple tightening with a 12 or 14 wrench resolves most cases. If it continues to drip, unscrew it while cold after isolating the radiator, replace the O-ring (costing less than 2 €), and reassemble with a turn of Teflon tape on the threads.
Corrosion at the Bottom of the Radiator: Repairable or Replaceable?
A rust seepage at the lower body without any nearby connections indicates a perforation due to electrolytic corrosion. Epoxy putty may provide a temporary fix (2 to 6 weeks maximum based on observed cases in workshops). This solution can buy time to order a new radiator, costing 150 to 500 euros for a standard 1000 W steel model, plus approximately 120 euros for installation by a plumber. In case of doubt about a technical alert signal, it’s advisable to request a quote before proceeding.
Is It Dangerous? When to Call an Emergency Plumber
Three situations necessitate an immediate call to a plumber. A leak from an electric radiator poses a risk of short circuit. A continuous flow suggests potential water damage. A drop in boiler pressure below 0.8 bar indicates a systemic issue. If any of these thresholds are crossed, contact a professional within 2 hours. A slow drip from a hot water radiator can wait 24 to 48 hours with a container underneath and the valve closed.
The Concrete Risks of an Untreated Leak
An untreated leak triggers three types of damage: infiltration into floors (the parquet swells within 24 to 48 hours), mold growth after 7 to 10 days, and reduced boiler efficiency as it compensates for pressure loss by running continuously. Over a heating season, this drift represents a gas or oil consumption increase of 8 to 15% according to ADEME. The principle is similar to a cooling system leak in a vehicle: a small untreated drip can damage the entire system due to cumulative pressure losses.
Signs That DIY Repair Is Insufficient
Five signals necessitate the intervention of a professional plumber: a leak that returns despite two tightening attempts, visible corrosion on the body, boiler pressure that drops several times a week despite top-ups, a radiator that no longer heats after repair, or dark brown water emerging during bleeding. The cost of intervention typically ranges from 90 to 150 euros including tax during the day, rising to 180 to 250 euros in the evening, on weekends, or holidays.
Concrete Example: Sophie, a 52-year-old homeowner in Isère, is torn between repairing the leak at her living room radiator connection herself or calling a plumber.
DIY Repair Costs:
- 3 € (new fiber gasket)
-
- 8 € (22 wrench already owned: 0 €)
- = 11 € and 25 minutes
Plumber Cost During Day:
- 60 € (travel) + 65 € (1 hour labor) + 5 € (supplies)
- = 130 € including tax on average
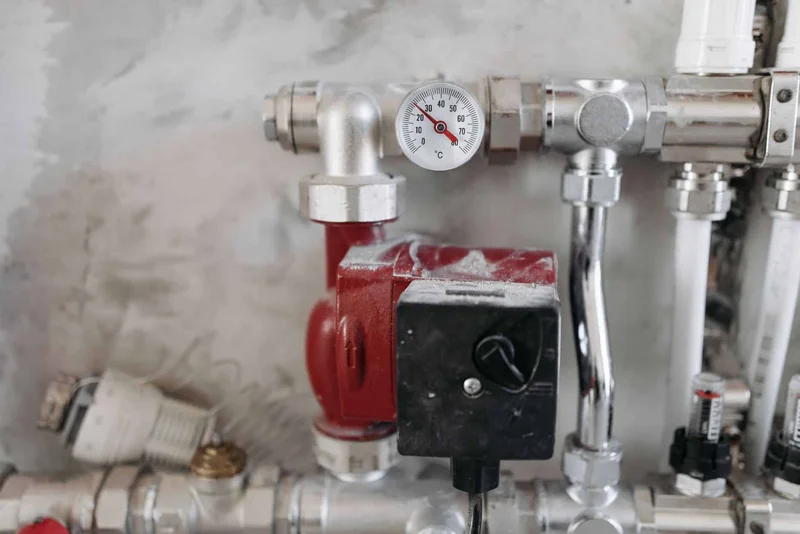
Regular maintenance significantly reduces the risk of leaks and ensures the longevity of your heating system.