Mastering the Art of Car Detailing: A Comprehensive Guide
Explore the comprehensive guide to automotive detailing, covering everything from preparation to final touches for a flawless vehicle appearance.
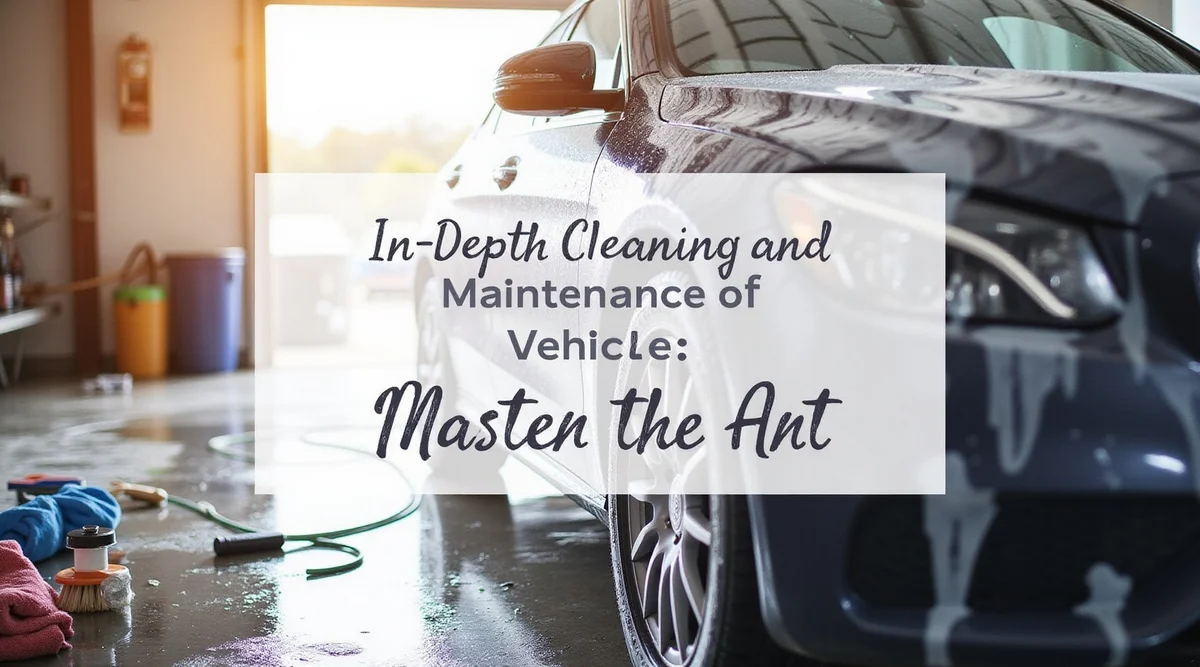
A vehicle serves not just as a means of transportation but as a reflection of its owner's values and standards. The way it stands parked, the way light dances on its body, and the serene ambiance of its interior all contribute to its character. True car detailing transcends a simple wash; it is a meticulous ritual that preserves both aesthetic appeal and resale value.
This guide will take you through the detailed process of transforming your vehicle from merely clean to impeccably detailed, covering everything from wheel grime to dashboard shine.
1. Preparing for the Ritual
Before you begin the detailing process, preparation is key. Think of it as a chef organizing their ingredients before cooking. A cluttered workspace leads to subpar results.
Start by gathering your tools: specialized wheel cleaners, quality brushes, plush wash mitts, microfiber towels for various tasks, a strong vacuum, and any necessary cleaning solutions. Arrange these items systematically; this is your toolkit for the transformation.
Next, declutter the cabin by removing personal items, including loose change and forgotten sunglasses. Take out the floor mats to create a blank slate. Finally, choose an appropriate workspace; detailing in the shade is ideal to prevent products from drying too quickly and leaving spots. Ensure you have a reliable water source and good ventilation.
2. The Exterior Campaign: A Step-by-Step Conquest
The exterior of your car is its public persona, enduring dirt, bird droppings, and the wear of time. Your mission is to clean, protect, and enhance its appearance.
Wheels and Tires: The First Point of Attack Start with the wheels, as they are typically the dirtiest area. Use a pH-balanced wheel cleaner and soft brushes to eliminate baked-on dust. Employ a separate wash mitt and bucket for the wheels to avoid transferring grime to the paint.
The Pre-Clean: A Strategic Soak Before washing, apply a bug and grime remover to the front bumper and lower panels. Follow this with a thick layer of snow foam from a foam cannon to encapsulate dirt particles, making them easier to rinse away.
The Car Wash: The Two-Bucket Method This method is essential for achieving a swirl-free finish. One bucket holds soapy water, while the other contains rinse water. Wash one panel at a time, rinsing your mitt in the second bucket before re-dipping in the soap.
Decontamination: The Clay Bar Treatment After washing, your paint may still feel gritty due to embedded contaminants. Use a clay bar and lubricant to remove these particles, leaving a smooth surface.
Polishing: Restoring the Deep Gloss Polishing removes fine scratches and swirl marks, restoring the paint's deep gloss. You can do this by hand or with a machine polisher for a more uniform finish.
Glass: The Final Clarity Streaky windows can ruin the look of a detailed car. Use an ammonia-free glass cleaner and two microfiber towels for a crystal-clear finish.
Drying with Purpose To avoid water spots, dry your car immediately after rinsing with a plush microfiber towel or filtered air blower.
3. Restoring the Inner Sanctum
The interior of your car should evoke cleanliness and order.
Initial Debris Removal Use an air compressor to blow dust and debris from tight spaces, then vacuum thoroughly using appropriate attachments.
Headliner and Upholstery Cleaning Clean the headliner delicately by spraying cleaner onto a microfiber cloth rather than directly onto the fabric. Use an upholstery cleaner for fabric seats and a dedicated leather cleaner for leather seats, followed by a conditioner.
Dashboard, Consoles, and Trim Dust and clean all hard surfaces with an interior detailer spray, and apply a UV protectant to prevent fading.
Carpets and Floor Mats For heavily soiled areas, consider using a carpet cleaning machine. Regular maintenance can be achieved with a good carpet cleaner and a stiff brush.
Eliminating Odors To neutralize odors, use an odor-eliminating spray or an ozone generator, rather than masking them with air fresheners.
4. Beneath the Skin: Engine and Undercarriage
For true automotive enthusiasts, the detailing process includes the often-overlooked areas.
The Engine Bay A clean engine bay reflects good maintenance. Use plastic bags to cover sensitive electronics and apply a degreaser before rinsing with low-pressure water. After drying, apply a dressing to enhance the appearance of plastic and rubber components.
The Undercarriage Use a high-pressure wash to clean the undercarriage, removing dirt and road grime. In winter, consider applying a rust inhibitor for added protection.
5. The Protective Flourish: Final Touches
This stage is crucial for sealing your hard work and adding those finishing touches that elevate the detail.
Tire Dressing Choose a dressing that matches your style—whether a deep satin black or a high-gloss finish—and apply it evenly to avoid overspray on the body.
Trim Restoration Restore faded plastic trim with a quality trim restorer to rejuvenate its color.
Wax, Sealants, and Ceramic Coatings These products provide protection; carnauba wax offers a warm glow, while sealants and ceramic coatings create durable layers that simplify future cleaning.
Quick Detail Spray Use a quick detail spray for a final wipe-down, eliminating any remaining dust and enhancing gloss.
6. The Detailer’s Curated Arsenal
A successful detailer needs the right tools. Here’s a starter list:
- Cleaners: pH-neutral car shampoo, wheel cleaner, all-purpose cleaner, glass cleaner.
- Tools: Two wash buckets with grit guards, a foam cannon, soft brushes, plush microfiber towels, and a quality vacuum.
- Decontamination: Detailing clay and lubricant.
- Refinement: Polish and applicator pads.
- Protection: Wax, sealant, or ceramic coating; tire dressing; trim restorer.
7. The Rhythm of Maintenance
Detailing isn’t a weekly chore but a seasonal reset. Here’s a suggested schedule:
- Weekly/Bi-Weekly: Conduct a two-bucket wash and interior tidy-up.
- Quarterly: Perform a full detail including a clay bar treatment and a fresh coat of wax or sealant.
- Annually: Polish the paint to correct minor imperfections and deep clean the interior and engine bay.
Adjust this schedule based on your local climate and driving habits.
8. The Payoff: Presence and Preservation
This level of detailing does more than enhance appearance; it safeguards your investment against the elements, preserving paint, interior, and overall value. It instills a quiet confidence in driving a well-maintained vehicle.
9. Gift the Art of the Detail
For the automotive enthusiast in your life, consider gifting a detailing kit filled with premium cleaners, waxes, and accessories. Pair it with stylish automotive-themed apparel for a thoughtful touch.
10. Document the Transformation
In today’s visual culture, capturing your detailing journey is essential. Take before-and-after photos to showcase your work and inspire others in the automotive community.
Your car awaits, the tools are at your disposal, and the process is outlined. Detailing is not merely a task; it is an art form that transforms your vehicle into a masterpiece.